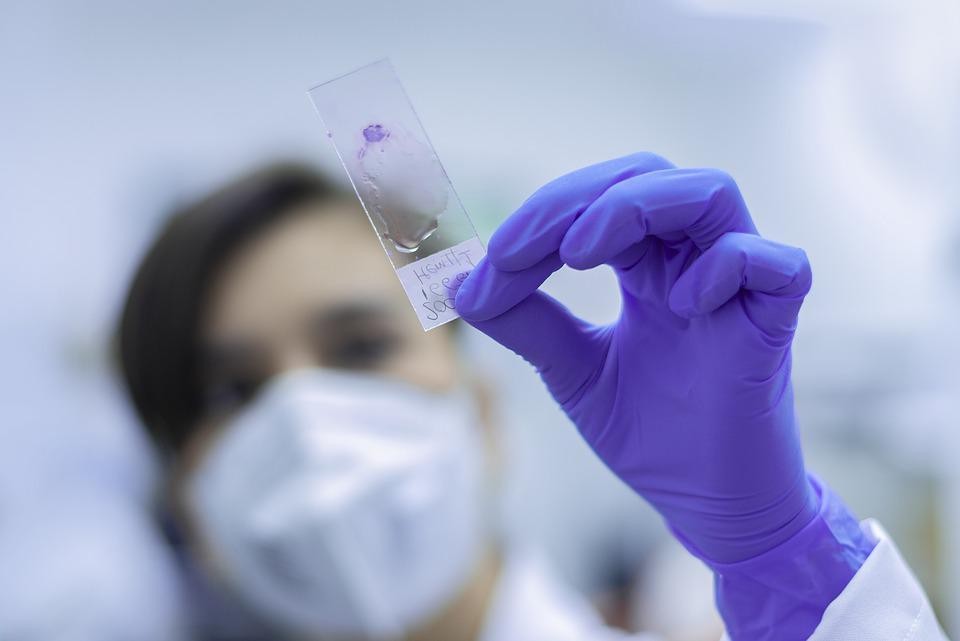
Microscope slides are made of glass or plastic, and are approximately 1×3 inches and between 1mm – 1.2mm thick. They are used to support a sample to make it visible under a microscope. You can prepare the slides by using different methods for viewing organic and inorganic objects.
Flat and Concave Style Slides
The basic microscope slide is a small, flat rectangular piece of borosilicate cover glass, soda lime glass or plastic. They have a sharp 90-degrees corner. The edges are sometimes frosted in order to make it easy to mark for sample identification.
Concave microscope slides feature surface depressions for easy sampling of liquid solutions and larger specimens. They are more expensive in price and do not require a cover. You can also buy plastic chambers which come with a predetermined number of slides and their covers.
Preparation Techniques
There are different types of microscopes made for different purposes. You can find and learn more about microscopes on this website. Each purpose or industry has different things to explore, so the technique to make microscopic slides would be different. These Slides are prepared by several different ways of placing samples depending on the nature of samples. They can be prepared by wet mount, dry mount, and smear and staining methods.
Dry Mount
Dry mount is considered as the most basic technique. In this method you can simply place a thinly sliced section of the sample on the center of the slide. Then place a cover slip over that slide to examine it under an optical microscope.
This technique is applicable for observing the microscopic appearance of feathers, hair, microscopic particles such as pollens, dead materials from plants, animals and insects. You will need a very thin slice of opaque substance to get the clear microscopic view of their structure.
Samples on dry mounts usually do not perish because they are composed of dry, inorganic and dead matter.
Wet Mount

Wet mounts are usually prepared for aquatic samples, natural matter and living organisms. In a wet mount, samples are suspended in an aqueous solution which may be water, glycerin, and brine and immersion oil.
You will need a liquid, tweezers, pipette and paper towels. In order to prepare a wet mount you will need to follow these steps:
1. Take a drop of liquid and place it in the center of the slide.
2. Drop a little bit of sample on the slide with the help of tweezers.
3. Place the cover slip over the sample slide in a way that it makes contact with the outer edge of the liquid drop.
4. Lower the cover slowly to minimize air bubbles.
5. Wipe excess liquid using a paper towel.
Smear Slides
To prepare smear slides you will require two or more flat, plain slides, pipette, cover slips and tissue paper.
1. The first step is to pipe the liquid sample such as blood or slime on a slide.
2. With the edge of the second slide, smear that sample gently to create a thin, even coating.
3. Put a cover slip on the slide, without adding air bubbles.
4. Wipe excess liquid with the paper towel.
Smears can be left for drying naturally in a moderate, steady temperature controlled environment. The length of the smear depends on the angle of the smearing slide. Steeper angles create shorter smear.
Squash Slides
Squash slides are used for soft samples and in the beginning a wet mount is prepared. Then the lens tissue is placed over the cover glass, and pressed down gently. Care should be taken so that you do not destroy the sample or break the glass. Lastly excess water is wiped off from the slide. In this technique human blood cells are intentionally squashed to reveal their internal structures.
In order to get the accurate results from a microscopic examination, it is essential to prepare the slides in an accurate way. The preparation techniques must not alter the physical, chemical and biological properties of the sample.
Read Also: What my Job Taught me about my Daughters’ Safety at School


